
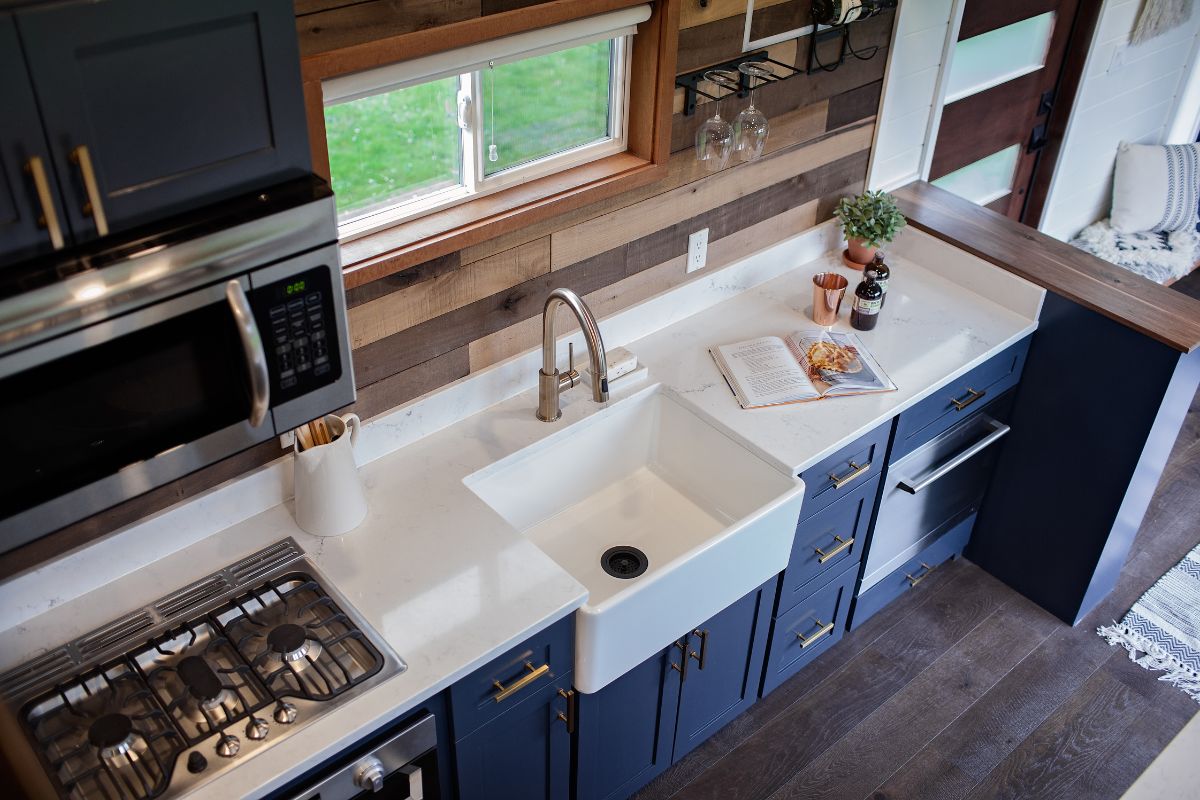
Water damage spreads fast, but in a tiny home, it takes even less time to take over the whole place. A small leak under the floor or behind a wall can mean mold, rot, and costly repairs if you do not act quickly. Due to the limited space, you have fewer options for containing the damage. All of your spaces, including the kitchen, sleeping area, and storage, are packed into the same footprint.
Even a minor issue can affect everything at once. Whether the cause is a burst pipe, a roof leak, or heavy rain, you need to know exactly what to do next. This is where working with professionals in restoration services can make a difference, especially when every square foot counts.

Step 1 - Prioritize Safety First
Before considering cleanup or repairs, stop and assess whether it is safe to be inside your home. Water can weaken floors, short out electrical systems, and carry hidden risks that are not always obvious at first glance.
Turn Off the Power
If water has reached any part of your electrical system, shut off the power at the main breaker. Only do this if you can reach it safely without standing in water. Never touch the breaker or fuse box with wet hands or while on a wet surface. If you are unsure, stay out and call an electrician for assistance.
Watch for Structural Damage
Tiny homes are built with lightweight materials to conserve space and minimize load, which can make them more susceptible to water-related structural issues. If you have lofts or raised platforms, check the flooring for soft spots or sagging. Do not walk over areas that look warped or feel unstable.
Step 2 - Stop the Source of Water
Once the space is safe, the next step is to restrict additional water from entering or spreading. Any delay in controlling the source of the water increases the risk of mold growth, structural damage, and more expensive repairs.
Shut Off the Main Supply
If the issue starts from a plumbing failure, such as a burst pipe or leaking valve, locate the main valve that shuts off water and turn it off immediately. In most tiny homes, there is a single accessible valve that controls the entire water system. If you are unsure of its location, identify it in advance so you can act quickly when needed.
Block External Water Entry
If the water is coming from outside due to roof damage, gutter overflow, or storm runoff, limit further entry. Use plastic sheets, towels, or absorbent materials to redirect or slow the flow. This is only a temporary measure, but it can reduce the extent of the damage until proper repairs are made.
Photograph the Damage Before Cleanup
Document all visible damage with clear photographs before beginning any removal or cleanup. Include images of floors, walls, furnishings, and the suspected water source. This documentation is necessary for insurance claims and restoration planning.

Step 3 - Remove Standing Water Quickly
Water spreads faster in small spaces, and it does not take long before moisture starts seeping into the floors, walls, or storage areas. The sooner you remove the water, the less damage you will have to deal with later.
Use the Right Tools for the Job
Start with a wet/dry vacuum if you have one available. It is effective for removing larger volumes of water from floors, especially if your tiny home has vinyl, laminate, or sealed wood surfaces. If you do not have access to a mop, use towels and buckets to manually soak up the water as quickly as possible. Replace towels as soon as they become saturated.
Ventilate the Space Immediately
Open all windows and doors to allow fresh air to circulate. Even a small amount of airflow can help slow down moisture buildup. If you have a ceiling fan or portable fans, use them to push damp air out and speed up evaporation. Avoid using heaters or hairdryers in enclosed spaces if electrical outlets or appliances were exposed to water.
Watch for Water Under Built-ins
Tiny homes often have storage compartments built into the floors or under furniture. Check these areas thoroughly, especially beneath beds, benches, and cabinets. Use dry towels to wipe them down, or remove the drawers to let them air out if needed. Leaving hidden moisture trapped in these spaces will increase the risk of mold later on.
Step 4 - Dry Out Every Nook and Cranny
Although the surface looks dry after cleanup, moisture can stay trapped in tight spaces. Ventilation is limited, and materials are packed closely together in a tiny house, making drying compulsory.
Use Portable Fans and Dehumidifiers
Place fans in opposite corners of the space to improve airflow across the room. If possible, set up a cross-ventilation pattern by opening windows on both sides. A compact dehumidifier is especially useful in tiny homes, where air circulation alone may not be enough. Run it continuously for at least 24 to 48 hours, or longer if humidity remains high.
Step 5 - Save What You Can
In a tiny home, every item matters. With limited storage and close quarters, you cannot afford to ignore what has been exposed to water.
Start with High-Priority Items
Begin with anything that is irreplaceable or time-sensitive, such as important documents, electronics, or personal items. Remove them from the wet area and place them in a dry, well-ventilated space. If electronics were exposed to water during the damage, do not attempt to power them on. Allow them to dry completely and have them inspected by a technician before use.
Dry Soft Materials Immediately
Items like cushions, rugs, and blankets absorb water quickly. If they are only lightly damp, set them outside in direct sunlight or use fans to dry them. For materials that have been fully saturated, it may not be safe to keep them. Fabric that stays wet for longer than 48 hours is at high risk for mold growth and should be discarded if signs of damage appear.
Step 6 - Watch for Mold Growth
Mold can begin forming within 24 to 48 hours after water exposure in a small, enclosed space like a tiny home. It is one of the most common and costly after-effects of water damage.
When to Call a Professional for Mold Growth
If mold covers more than a square meter, or if you are unsure how far it has spread, it is safer to involve a licensed professional. Tiny homes have compact construction, which means mold can travel quickly through wall cavities, insulation, and hidden materials.
Professionals who specialize in restoration can assess the damage thoroughly, remove mold safely, and help prevent it from coming back. Trying to clean mold without proper containment or tools can release spores into the air and make the situation worse.
Step 7 - Repair and Prevent Future Damage
Once everything is dry and the immediate risks are addressed, it is time to start repairs. This is also the best point to make changes that reduce the chances of future water problems.
Reinforce Vulnerable Areas
Consider installing water-resistant materials in areas prone to leaks. Use waterproof flooring in bathrooms or entryways, and seal joints around windows and doors with high-quality caulk. Add splash guards or threshold seals near the front door if runoff tends to pool during rain.

Know When to Get Help
Water damage in a tiny home is not always something you can handle on your own. Some problems are deeper than they appear, and delaying expert support can lead to more expensive repairs later.
Call a professional if you notice any of the following.
-
The flooring feels soft, warped, or unstable
-
You see visible mold returning after drying
-
There is a persistent musty odor that does not go away
-
Walls or ceiling panels are bubbling or discolored
-
Water damage has reached the electrical systems
-
You feel unsure about the extent of hidden damage
A trained team can use tools like moisture meters, infrared scanners, and air quality monitors to check for deeper issues that are not visible from the surface. Restoration professionals can also help with cleanup, sanitization, material replacement, and long-term prevention planning.
Final Thoughts
Tiny homes are easier to clean, but they are also quicker to flood, develop mold, and break down if water damage is left untreated. Shutting off the source to dry out hidden corners helps protect your home from deeper damage.
Quick action, clear priorities, and calling in professional support when needed will give you the best chance of restoring your space safely and efficiently. Whether the water came from inside or outside, a fast response increases your chances of saving your home.


Share: