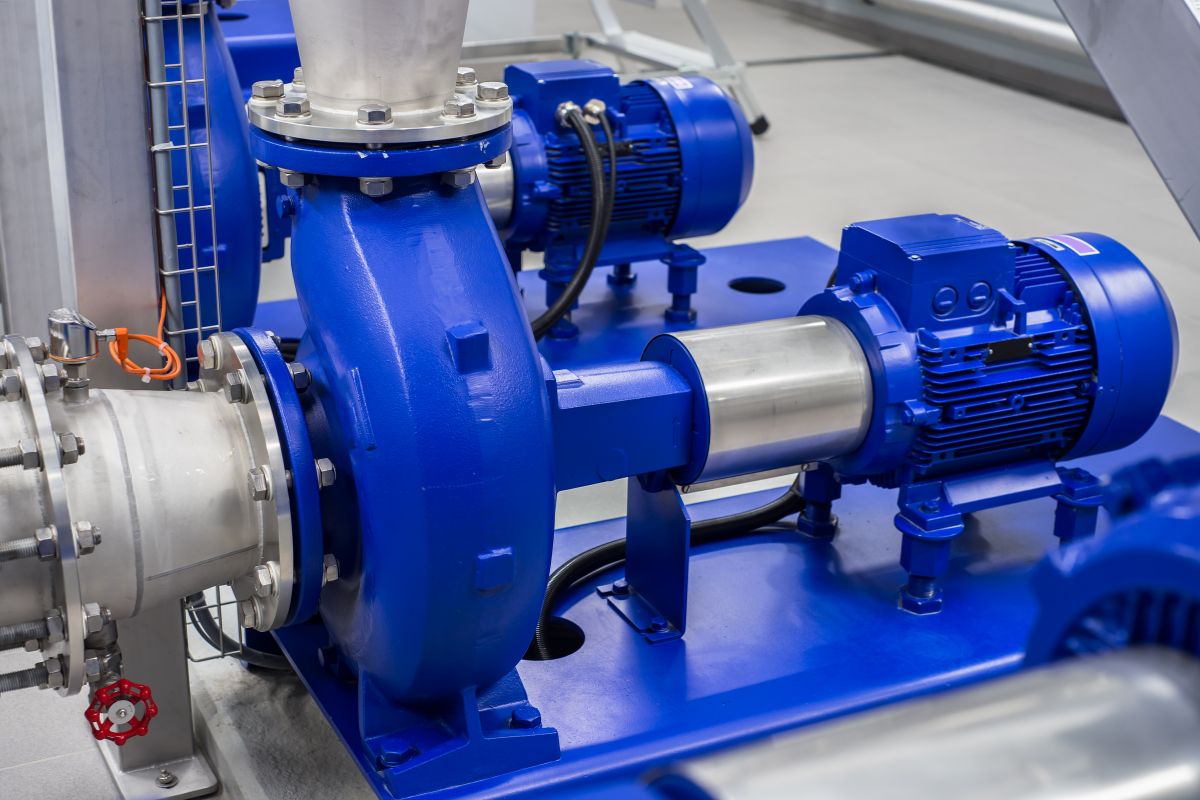
Understanding Your Tiny House Water System
To effectively install a water pump in a tiny house, it's crucial to have a solid grasp of the types of water pumps available and the essential plumbing components involved.
Types of Water Pumps
There are several types of water pumps commonly used in tiny houses. Submersible pumps are installed inside the water tank and are effective for deep wells. Transfer pumps are versatile and can move water from one place to another, such as from a rainwater collection system to a storage tank.
Diaphragm pumps are known for their efficiency and are often used in water systems that require consistent pressure. Each type has unique strengths. Selecting the right one depends on the specific needs and layout of your tiny house.
Essentials of Plumbing
A tiny house water system requires certain key plumbing components. Pipes and fittings route water to various outlets. Pressure regulators ensure the water doesn't damage pipes due to excessive pressure. Water filters maintain water quality by removing contaminants.
Pay close attention to valve placement. Properly installed valves can isolate parts of the system for repairs without shutting down the entire setup. Tankless water heaters are a space-efficient way to supply hot water on demand. Understanding components like pumps, valves, and heaters is vital for a functional tiny house water system.
Tools and Materials

For a successful DIY installation of a water pump in your tiny house, it's crucial to have the right tools and materials. This ensures efficiency and minimizes the risk of issues during installation.
Selecting the Right Water Pump
Choosing the appropriate water pump involves considering factors like the size of the tiny house and the water requirements. It's essential to determine whether a submersible or surface pump suits your needs. Submersible pumps are ideal for deeper water sources, while surface pumps work well for shallow sources.
Check the pump's capacity and power specifications. A pump with too high or low capacity can either be inefficient or insufficient. Also, assess the energy consumption to know how it will affect your utility expenses.
Gathering Installation Tools
Proper installation demands a specific set of tools. Here's a list of essential tools:
- Pipe Cutters: For cutting pipes to the desired length.
- Wrenches: Adjustable and pipe wrenches for tightening and loosening fittings.
- Screwdrivers: A variety set for securing pump components.
- Tape Measure: To ensure precise measurements.
- Voltage Tester: To ensure safe electrical connections.
- Safety Gear: Gloves and safety glasses for protection.
Using quality tools can save time and improve the quality of the installation. Ensure all tools are easily accessible during the installation process.
Sourcing Quality Plumbing Supplies
Quality plumbing supplies are vital for a long-lasting installation. Key supplies include pipes, fittings, and valves. PVC pipes are commonly used due to their durability and ease of installation. Brass or copper fittings provide reliable connections and resist corrosion.
Valves, such as check valves and ball valves, control water flow and direction. Choosing reputable suppliers ensures that the materials meet safety standards. Plumbing Orange County professionals often recommend local supply stores known for high-quality products.
Additionally, pipe insulation might be necessary to prevent freezing in colder climates. This not only protects the water system but also improves the efficiency of the pump. Properly sourced supplies ensure durability and optimal performance of the water pump system.
Installation Steps
To install a water pump in your tiny house, follow these critical steps to ensure the process goes smoothly: preparing the work area, connecting pipes and fittings, securing the water pump, and testing and troubleshooting. For proper water pump installation, look for professionals.
Preparing the Work Area
Start by clearing out any obstructions around the installation site. Make sure that the area is dry and well-lit to avoid mishaps. Gather all necessary tools and materials like wrench sets, pipes, fittings, and sealing tape. Double-check the water pump's specifications to ensure compatibility with your plumbing system.
Measure the space where the pump will be installed, ensuring it fits securely. Proper ventilation should be considered to avoid overheating. Mark the spots where the pipes will connect to ensure precision.
Connecting Pipes and Fittings
Begin by laying out all the pipes and fittings you'll need. Using a measuring tape, cut the pipes to the required lengths. Make sure the ends are smooth and free from burrs which could hamper connections. Use Teflon tape around the threads of metal pipes to prevent leaks.
Attach the pipes step-by-step, making sure each fitting is tight but not over-torqued. Follow the manufacturer’s guidelines on pipe connections. It's crucial to have a shut-off valve installed to make future maintenance easier.
Securing the Water Pump
Carefully position the water pump in its designated spot. Use mounting brackets and bolts to secure it firmly to the floor or wall. Ensure that the pump is level for optimal performance. Tighten the bolts but be careful not to overtighten as you could crack the mounting surface.
Double-check all connections and make sure the pump is easily accessible for maintenance.
Testing and Troubleshooting
Once everything is connected and secured, turn on the water supply. Slowly fill the system with water and observe all fittings and connections for leaks. Pay attention to any unusual noises which might indicate issues.
Check the pressure and adjust settings if needed to ensure the pump operates efficiently. If any problems are identified, turn off the system and address them immediately. Inspect the pump and all connections to resolve any leaks or operational glitches. Turn on nearby fixtures to check water pressure and flow consistency.
Maintenance and Care
Proper care of your water pump can extend its lifespan and ensure it operates effectively. Focus on routine checks and addressing potential issues promptly to avoid major problems.

Routine Maintenance Tips
Regular inspections are crucial. Check the pump's housing for cracks or leaks. Clean any dirt or debris from the pump's inlet and outlet. Ensure connections are secure. Lubricate moving parts if your model requires it.
Use a maintenance schedule:
- Monthly: Inspect for wear and tear.
- Quarterly: Lubricate if necessary.
- Annually: Conduct a thorough cleaning and replace worn components.
Always use correct replacement parts as recommended by the manufacturer. This ensures optimal performance and longevity.
Addressing Common Issues
Noise is a common issue. If the pump sounds unusual, check for loose fittings or blockages. Tighten or clean as needed. Leaks often occur at connections; re-tighten or replace faulty seals.
Overheating can damage the pump. Ensure it is not running dry, and check the cooling system if applicable.
If the pump fails to start, verify electrical connections and the condition of the power source. Replacing parts like the impeller or motor may resolve persistent issues.


Share: