
Design clear egress paths: map primary/secondary routes, keep 32-inch corridors and 36-inch door clearances, and place beds by code-compliant egress windows. Install listed, sealed-combustion or direct-vent appliances; add CO/gas detectors and follow chimney and propane rules.
Upgrade electrical with proper load calcs, dedicated breakers, AFCI/GFCI, and labeled circuits. Fit photoelectric smoke, CO, and heat alarms with hardwire backup; test and clean on schedule. Mount ABC extinguishers and a fire blanket; consider sprinklers and practice drills to go further.
Key Takeaways
-
Keep 32-inch clear egress paths, 36-inch door clearance, and place beds beside code-compliant egress windows with photo-luminescent exit markings.
-
Install listed, sealed-combustion or direct-vent appliances; add CO and gas detectors, secure propane, and follow chimney and ember protection rules.
-
Commission a load calculation; use dedicated circuits with AFCI/GFCI protection, label breakers, and avoid daisy-chained power strips.
-
Place photoelectric smoke alarms in loft and living areas, heat alarms in the galley, and hardwired CO alarms with battery backup; test weekly.
-
Mount ABC extinguishers near kitchen exits and sleeping areas, add a fire blanket, maintain a weekly checklist, and practice annual escape drills.
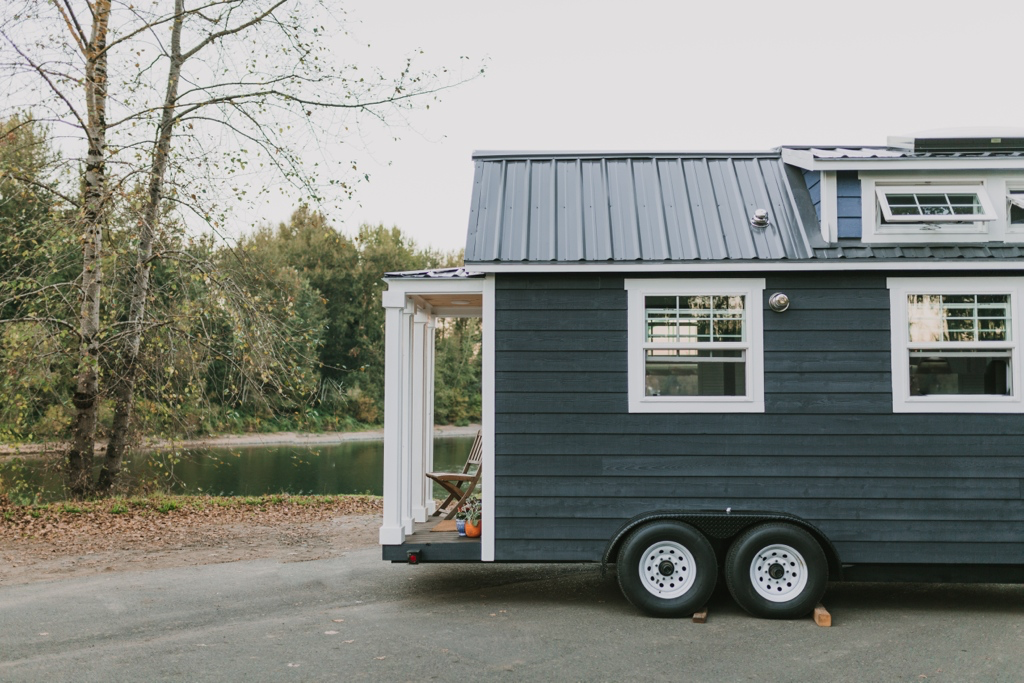
Plan a Fire-Conscious Layout and Clear Egress Paths
A compliant tiny home starts with a layout that prioritizes fire separation and unobstructed exits. Begin by mapping primary and secondary egress routes from every zone, including lofts. Provide a minimum 32-inch clear egress corridor and maintain a 36-inch clearance at doors. Position sleeping areas adjacent to an egress window meeting code-sized opening and sill-height limits.
Use fire resistant materials for walls, ceilings, and partitions around higher-risk zones. Install rated barriers between living and storage areas, and maintain clearances around electrical panels. Apply space optimization without compromising safety: keep furnishings out of egress paths, hinge doors to swing in the direction of exit flow, and avoid dead-end corridors. Mark exits with photo-luminescent cues, add handholds on loft ladders, and verify egress hardware is operable with one motion.

Choose Safe Heating, Cooking, and Hot Water Appliances
Before you select any heater, cooktop, or water heater, verify each unit is listed and labeled by a recognized testing laboratory (e.g., UL, ETL) and approved for residential or tiny-home/RV use. Choose sealed-combustion or direct-vent gas appliances; route exhaust outdoors per manufacturer specs. For electric models, confirm nameplate ratings meet appliance placement clearances and ventilation requirements.
Specify energy efficient appliances with automatic shutoff, tip-over protection, and overheat limits. Maintain required clearances from walls, cabinetry, bedding, and combustibles; use noncombustible surfaces and heat shields when listed. Install CO and gas leak detectors near gas-fired units. Secure propane cylinders outside in ventilated enclosures; use approved regulators and leak-tested connections. For solid-fuel stoves, follow chimney height, hearth, and ember protection rules. Keep manuals accessible and document maintenance.
Upgrade Electrical Systems and Manage Loads Wisely
Even in a small footprint, your electrical system must meet residential codes and handle peak demand without nuisance trips or overheating. Start by commissioning a load calculation and panel assessment. If capacity is insufficient, plan circuit upgrades with dedicated breakers for high‑draw appliances. Use AFCI and GFCI protection where required, and verify breaker and conductor sizes match device loads.
Label every circuit, document amperage, and practice load balancing: distribute portable heaters, induction hobs, and charging stations across separate circuits. Install tamper‑resistant receptacles, secure wiring in raceways, and maintain proper box fill. Replace damaged cords, avoid daisy‑chained power strips, and use listed, low‑profile surge protection.
Schedule thermal imaging and torque checks annually. After any remodel, retest voltage drop, verify neutral integrity, and update the single‑line diagram.
Install Detection: Smoke, CO, and Heat Alarms for Small Spaces
Because a tiny home concentrates hazards and occupants, you need layered detection that meets residential codes and device listings. Install photoelectric smoke alarms in the loft and living area; use a heat alarm in the galley to avoid nuisance trips. Place a CO alarm outside the sleeping area and near any fuel‑burning appliance. Follow manufacturer alarm placement diagrams, maintain required clearances, and interconnect units so all sound together.
Power alarms by hardwire with battery backup where feasible; otherwise use long‑life sealed batteries. Test weekly, document maintenance schedules, and replace devices per listed service life (typically 7–10 years for smoke/CO, 10 years for heat). Clean sensors quarterly. Label circuits, verify audibility at pillow level, and conduct annual drill tests to validate performance.
Add Suppression Tools: Extinguishers, Fire Blankets, and Sprinklers
With detection in place, equip the tiny home with suppression tools that meet recognized standards and are sized for confined layouts. Install at least one multipurpose ABC unit; confirm UL/EN certification and pressure gauge integrity. Prioritize extinguisher placement: mount one near the kitchen exit, another by the sleeping area, both 3–5 feet above floor, unobstructed, and reachable without moving toward the fire. Train on pull-aim-squeeze-sweep.
Add a Class K unit if you cook with oils. Position a fire blanket at the galley entry; post simple instructions to guarantee decisive blanket usage for pan fires or clothing ignition. Where feasible, specify a residential sprinkler system listed to NFPA 13D or equivalent; ascertain adequate water supply, freeze protection, and annual professional inspection and testing.

Maintain, Declutter, and Practice an Escape Plan Regularly
Although detection and suppression buy time, you must keep the tiny home inspection-ready through disciplined upkeep and drills. Establish a weekly maintenance checklist: test alarms, verify extinguisher gauges, inspect cords and fuel lines, and clear vents. Document findings and correct deficiencies immediately. Apply strict clutter control: keep exits, heaters, and cooktops clear; store combustibles in labeled, sealed containers; remove unused items monthly. Manage cords with rated organizers, avoid overloading circuits, and maintain 36 inches of clearance around heat sources.
Create a two-exit escape plan with primary and secondary routes. Post it visibly, assign roles, and designate an outside meeting point. Conduct regular drills at varied times, including nighttime, and time the evacuation. Review performance, update the plan, and retrain until every step is automatic.
Conclusion
You’re responsible for building fire safety into every inch of your tiny home. Verify clear egress routes, select listed appliances, balance electrical loads, and install interconnected smoke, CO, and heat alarms. Equip Class ABC extinguishers, a fire blanket, and consider residential sprinklers.
Follow manufacturer instructions, local codes, and NFPA guidance. Schedule monthly tests, quarterly inspections, and annual maintenance. Reduce combustibles, keep exits unobstructed, and run timed drills. Document everything. If conditions change, reassess and update your plan.


Share: