
Tiny homes give you a cozy footprint, yet that smaller space magnifies every problem. One dripping corner turns into a musty smell in the entire interior. A small roof issue quickly spreads into cabinets, built-ins, and lofts. Leak prevention matters for any house, and it becomes even more important when every square foot carries a job.
You protect your tiny home best when you treat water as something to guide and control, not simply block. Rain, condensation, plumbing, and ground moisture all try to reach the same place. They move toward the weakest detail. With a few simple habits and smart building choices, you can keep that weak point from appearing in the first place.
Regular attention beats dramatic repairs every time. Short inspections, basic cleaning, and quick touch-ups preserve the structure, lower stress, and keep your investment strong, whether you live on a foundation or on wheels.
Understand How Water Moves Around a Tiny Home
Water always seeks gaps, low spots, and unprotected edges. Tiny homes often sit closer to the ground than full-size houses, and many include lofts that collect humid air. That combination creates more risk at the roofline, wall seams, and underside.
Start with a mental map of water paths. Picture heavy rain hitting the roof, running toward the edges, sliding into the gutters, and dropping away from the trailer or foundation. Then picture steam from cooking or showers rising to the ceiling, meeting cooler surfaces, and turning into droplets. Every step in that journey needs a clear route that never crosses your insulation or interior finishes.
Walk around your tiny home during the rain if you can do that safely. Watch how water falls from the roof, how it hits the ground, and where it splashes. Look for spots where runoff hits siding or piles near skirting. Small changes in grading, splash blocks, or downspout length make a big difference for long-term dryness.

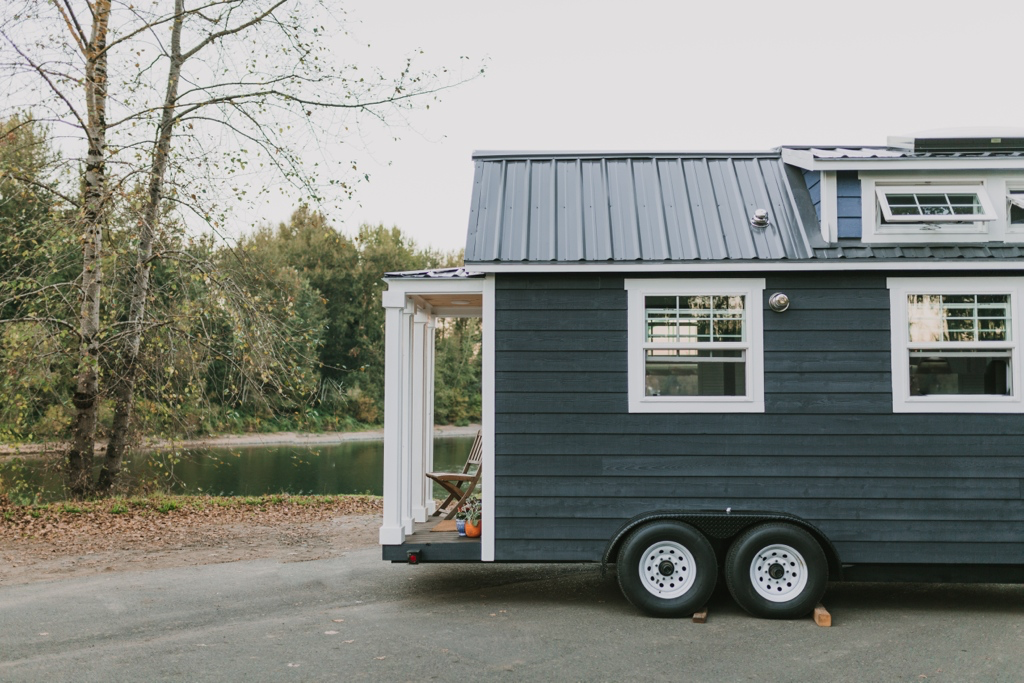
Choose and Maintain the Right Roofing Details
Your roof line carries most of the load during storms. Tiny homes often travel, so the roof handles wind on the highway along with rain at the campsite. You gain better protection when you keep the design simple.
Clean lines, fewer penetrations, and quality flashing reduce chances for leaks. Many tiny home owners in coastal climates compare metal panels with shingles for a roof in San Diego, CA, and similar mild regions, before they commit to a design. Metal panels often shed water quickly and handle travel well, while modern shingles give a familiar look and easy repair options. Whatever you choose, invest in high-grade underlayment, proper drip edges, and sealing tape at seams. These invisible layers carry as much importance as the outer finish.
Set a personal schedule for roof checks, twice a year at minimum. Climb up only with safe access and a partner. Look for cracked sealant, lifted fasteners, missing screws at ridge caps, and rust spots around vents. Catching one issue in spring often saves you from soaked insulation by autumn.
Seal Windows, Doors, and Tiny Penetrations
Windows and doors break up the protective shell of the walls. Tiny homes sometimes pack many openings into short runs of siding, which increases risk at trim and joints. You prevent trouble when you treat each opening like a small roof, with flashing that directs water away from the frame.
Stand close to each window and door and inspect the caulk and trim. Gaps, hairline cracks, or peeling beads all invite water. Cut away failed sections with a sharp knife, clean the surface, and apply fresh exterior-grade sealant in a smooth, continuous line. Avoid huge beads; aim for a neat, filled joint that sheds water instead of catching it.
Do not forget small penetrations. Cable routes, dryer vents, furnace exhausts, and tiny light fixtures all poke through the skin. Any loose grommet, crooked fixture, or split gasket turns into a leak path. Check these points after strong wind or after a move, since vibrations shift hardware. Tight screws, fresh gaskets, and compatible sealant keep these tricky spots dry.
Control Condensation and Interior Humidity
A tiny home traps humidity faster than a large building. Cooking, showers, breathing, plants, and even drying clothes add moisture to the air. Warm, damp air rises to lofts and ceilings, then meets cooler surfaces. That meeting creates droplets, which can drip into wall cavities and roof insulation.
Ventilation helps you break that cycle. Use an exhaust fan in the bathroom during and after showers. Run a range hood during cooking and give the fan a few extra minutes. Crack a window on the opposite side of the home to create a gentle cross breeze when the weather allows. These simple moves clear humid air before it condenses.
Protect Plumbing Lines and Fixtures
Many leaks start inside the walls. Tiny homes often weave plumbing lines through tight spaces, under cabinets, and along exterior edges. Those runs feel convenient during construction, yet they face more cold, heat, and movement.
Trace every visible section of piping and fittings. Learn where supply lines enter, where they pass through floor cavities, and where they connect to fixtures. Install access panels at key joints instead of burying everything. That choice allows quick checks and small repairs without cutting walls later.

Keep Gutters, Trailers, and Skirting Dry
Even a small roof collects surprising amounts of water. If your tiny home includes gutters, clear them before heavy seasons. Scoop out leaves, rinse channels, and confirm that downspouts send water away from the wheels or foundation. A splash zone under the eaves soaks skirting, rusts metal, and softens nearby soil.
If your tiny home sits on a trailer, pay attention to the frame. Standing water against steel invites rust that eats strength. After storms, walk underneath if clearance and safety allow. Look for damp pockets against wood subfloor members and near fastening plates. Fix grading and add gravel where puddles form repeatedly.
Build a Simple Inspection and Maintenance Habit
Tiny home care works best as a routine, not a project. Short, regular inspections teach you how your house reacts to seasons. You learn which corners collect dust, which seams hairline crack first, and which fittings loosen after travel. This kind of familiarity allows fast action.
Create a simple seasonal checklist. In spring, scan the roof, clear gutters, check caulk, and test dehumidifiers. In summer, watch for sun damage on sealants and inspect vents and screens. In autumn, prepare drainage for heavy rain and clean around the skirting. In winter, protect plumbing, watch for condensation on cold nights, and clear any ice or snow that might block vents or drains.
Water always tries to find the simplest path into your tiny home. You protect your space when you stay one step ahead. A thoughtful roof design, neat sealing around openings, consistent ventilation, careful plumbing routes, and clear drainage all work together. With a basic inspection habit and quick responses to small problems, your tiny house stays tight, dry, and ready for the travel or backyard life you imagine.


Share: