
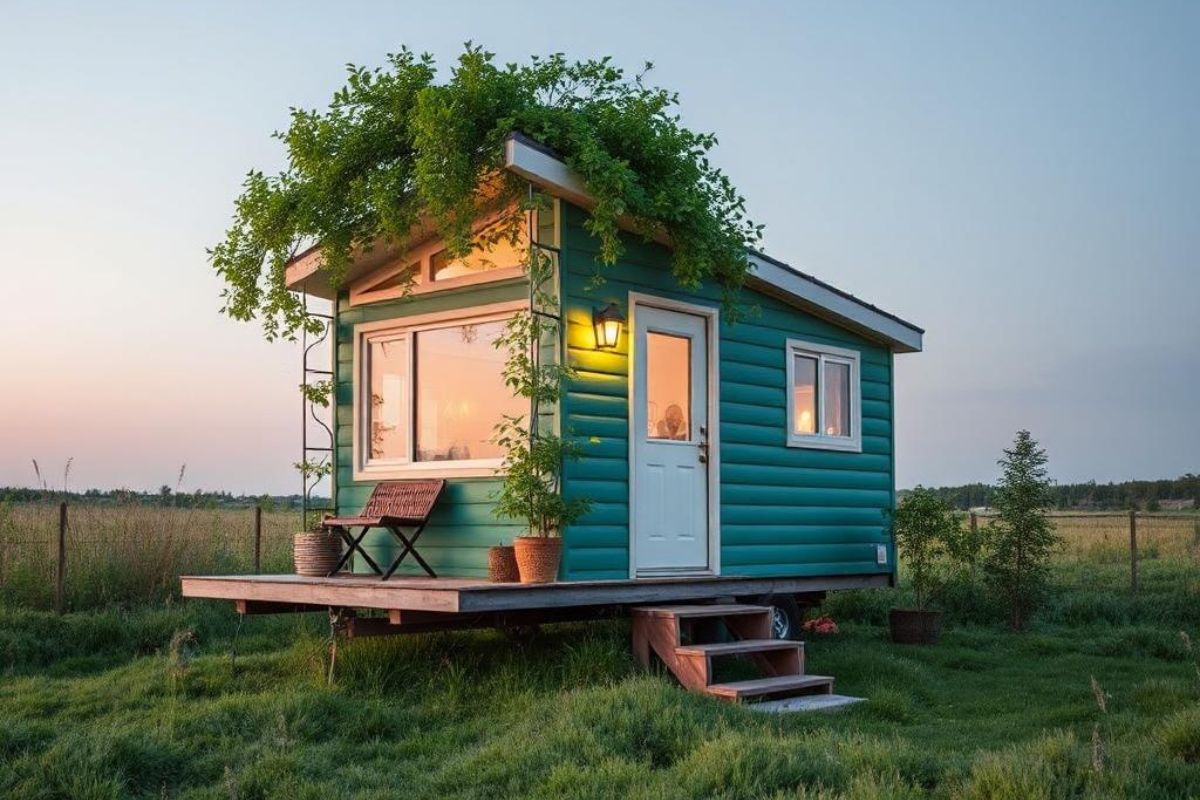
Turn your tiny house porch into a winter retreat by tucking seating on the leeward side and adding slatted screens or tall planters to baffle wind. Layer warm-white string lights (2200–2700K) with shielded sconces for cozy glow.
Place a compact infrared heater on a noncombustible pad, cords secured. Choose quick-dry cushions, acrylic fabrics, and tie-down covers. Style evergreen planters with cedar, eucalyptus, birch risers, and brass accents. There’s a simple formula that makes it all come together.
Key Takeaways
-
Map prevailing winds and add staggered cedar screens or tall planters to create wind baffles and a draft-free seating nook.
-
Layer warm lighting: dimmable 2200–2700K string lights, shielded task sconces, and battery candles; keep cords weatherproof and tidy.
-
Use compact heat sources like electric infrared panels; place on noncombustible pads with safe clearances and anchored cords.
-
Choose quick-dry lounge seating with solution-dyed acrylic cushions; add non-skid seat pads, performance throws, and breathable covers.
-
Style seasonally with evergreens, pinecones, birch log risers, and a cedar-eucalyptus wreath; keep a cohesive forest green and brass palette.
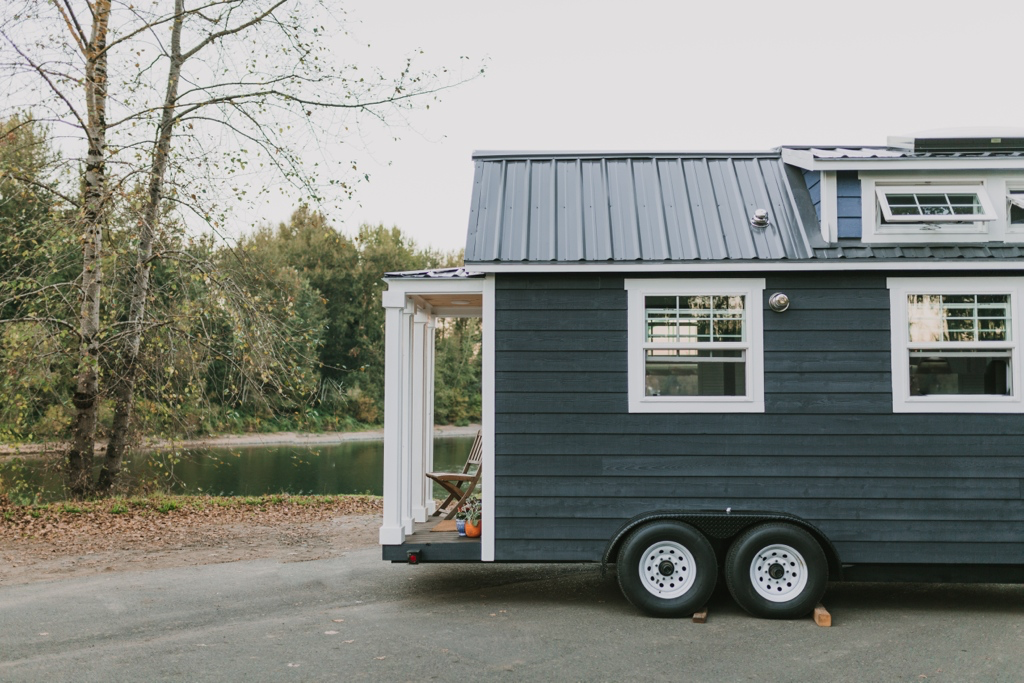
Maximizing Layout for Wind and Privacy
Although winter brings biting gusts, you can stage your tiny house exterior to block wind while preserving cozy privacy.
Start by mapping prevailing winds; angle your seating nook behind your house’s leeward side. Use staggered elements—tall planters, cedar screens, and a slim trellis—to create wind baffles without feeling boxed in. Add a hinged privacy panel near the door to shield entries and reduce drafts.
Position a compact bench against a solid wall, then place a narrow table as a subtle barrier. Choose materials with winter texture: slatted wood, powder‑coated metal, and woven reed panels that diffuse airflow.
Stack evergreens in containers to form seasonal hedges. Keep pathways tight and curved to slow wind. Tuck storage beneath benches, keeping surfaces clean and visually calm.
Layered Lighting for Warmth and Ambiance

When daylight thins, layer light to warm your tiny exterior without glare or clutter. Start with a low, ambient glow: dimmable, warm-white string lights or lanterns (2200–2700K) around railings and eaves to soften edges and guide movement.
Add task lighting where you prep, pour, or play cards—shielded sconces or clamp-on fixtures aimed downward to prevent harsh spill and preserve night vision.
Introduce accent points for depth: battery pillar candles inside frosted hurricanes, micro-LEDs woven through winter greens, or a discreet spotlight grazing textured siding.
Keep cords tidy with cold-rated cables and weatherproof connections. Use timers or smart plugs so lights welcome you at dusk.
Vary heights—ground, midline, above—to avoid flatness. Finish with matte, non-glare finishes that read cozy in snow.
Compact Heat Sources and Safe Placement
Because space and ventilation are tight, choose compact heaters that pull double duty and stage them with intention. Go for electric infrared panels, tabletop ethanol burners, or low-profile propane fire bowls with CSA/UL listings.
Pick finishes that echo your palette—matte black, brushed steel, or enamel—to keep the look cohesive.
Map clearances before you plug anything in. Maintain manufacturer-recommended distances from siding, planters, and railings; heat and dry wood don’t mix. Elevate units on noncombustible pads, and anchor cords away from footpaths.
Keep a Class B/C extinguisher within reach, and install a weatherproof outlet with GFCI protection.
Create thermal zones: one focal heater at center, smaller units flanking edges to cut drafts. Add wind breaks with slatted panels or tempered glass screens to hold warmth without blocking sightlines.
Weatherproof Textiles and Cozy Seating
Warmth only matters if you can settle in, so pair your heat plan with seating and fabrics that shrug off snow and slush.
Choose compact lounge chairs or a loveseat with powder‑coated frames and quick‑dry foam. Opt for solution‑dyed acrylic or marine‑grade vinyl cushions; they resist UV, mildew, and stains. Use zip-off covers for easy washing and fast swaps after storms.
Layer performance throws made from wool blends or recycled fleece; keep them in a lidded, ventilated deck box to stay dry.
Add seat pads with non‑skid bottoms so you won’t slide on frosty mornings. Elevate pieces on slim legs to keep textiles off wet decks.
Finish with waterproof tie‑downs and breathable furniture covers, so everything stays put and dries between winter sittings.

Natural Accents and Seasonal Styling
Although tiny, your outdoor zone can feel rooted in the season with simple, living touches. Layer evergreen boughs in planters, then tuck in pinecones, cinnamon sticks, and dried orange slices for scent and texture. Clip rosemary or juniper sprigs for herb bundles that double as natural fire starters.
Create a focal wreath of cedar and eucalyptus; secure it with twine and swap ribbons as winter shifts from early frost to late snow. Use birch logs as risers for lanterns, elevating candlelight above snow crusts. Add a shallow tray of river stones to catch melting ice and protect decking.
Choose a restrained palette—forest green, bone, charcoal, and a brass accent—so materials feel cohesive. Refresh weekly: replace browning stems, shake off snow, and mist greenery to prolong color.
Conclusion
Wrap up your tiny house’s winter haven with purpose and polish. You’ve mapped wind and privacy, layered warm lighting, placed compact heaters safely, and dressed seats in weatherproof textiles. Now add natural accents—evergreen sprigs, pinecones, and rustic wood—to tie it all together.
Keep pathways clear, stash throws in baskets, and rotate seasonal touches as temperatures shift. When dusk falls, light the glow, pour something hot, and enjoy a snug, stylish outdoor retreat that feels timelessly winter-ready.

Share: